About this Item:
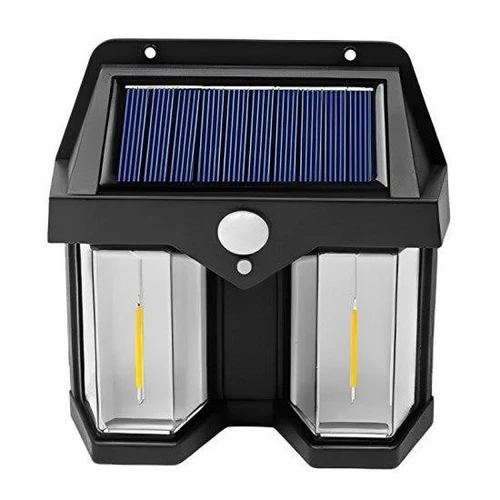
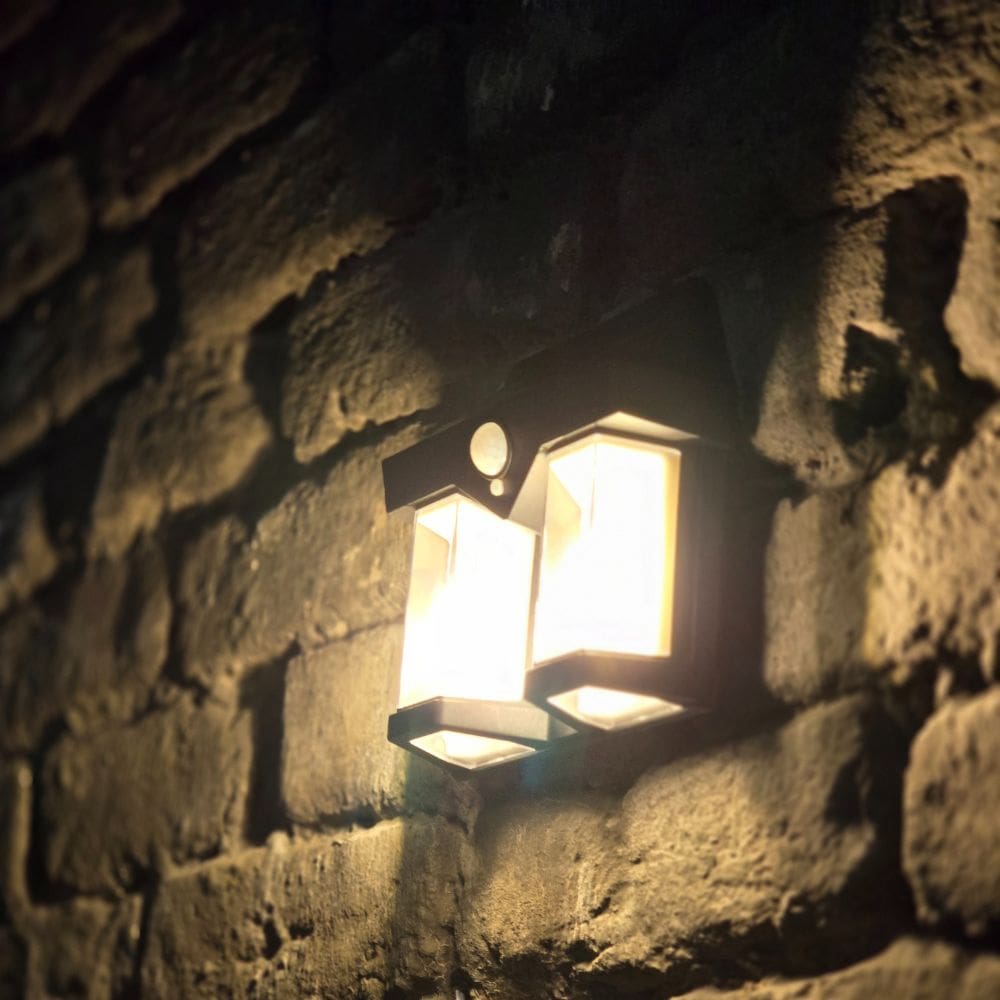
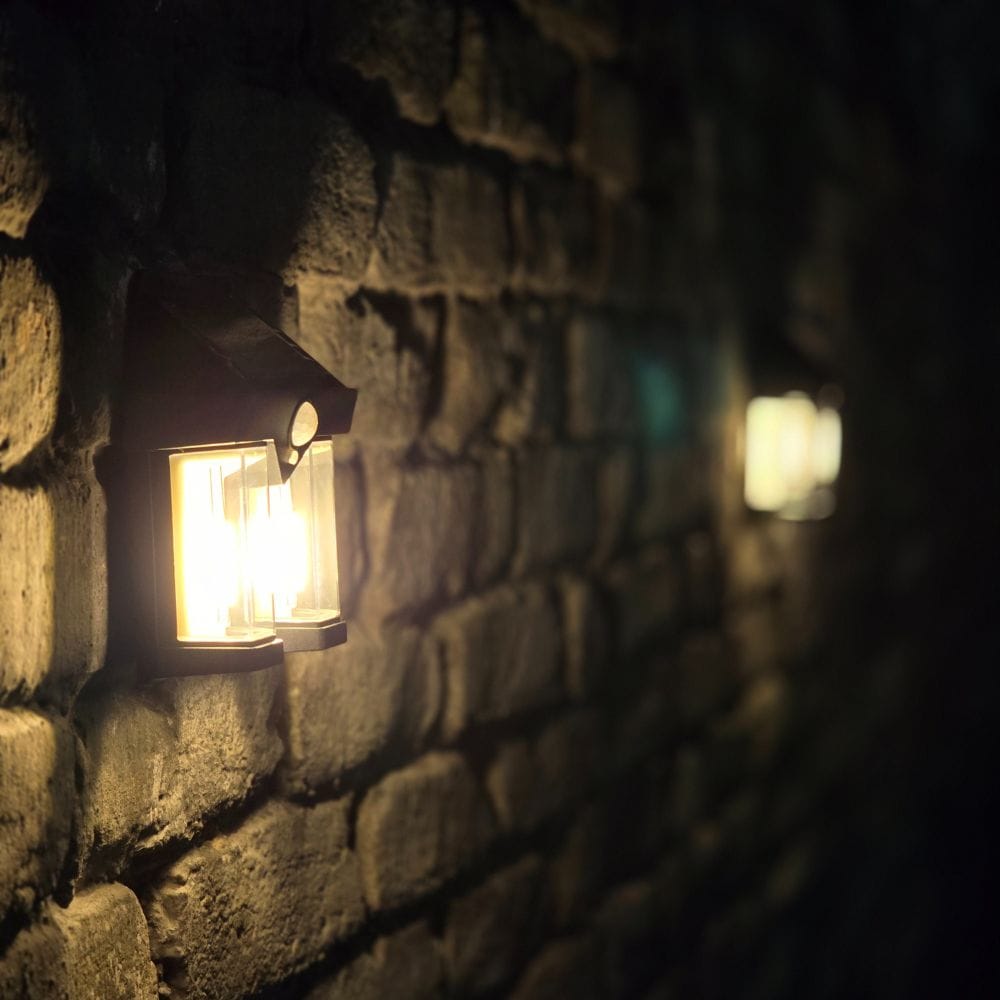
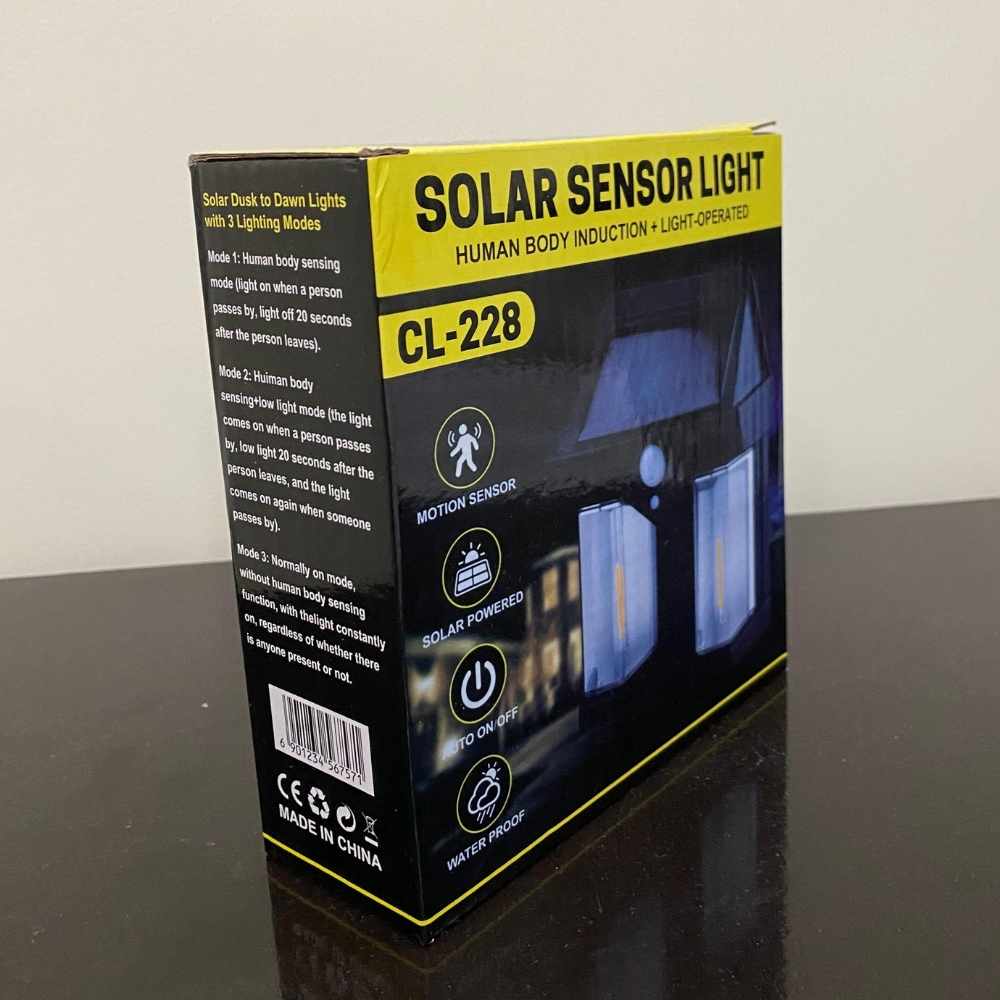
The Solar CL 228 Wall light is a great choice if you want bright, warm light outdoors without increasing your electricity bills.
So, what makes this solar light different than other solar lights???
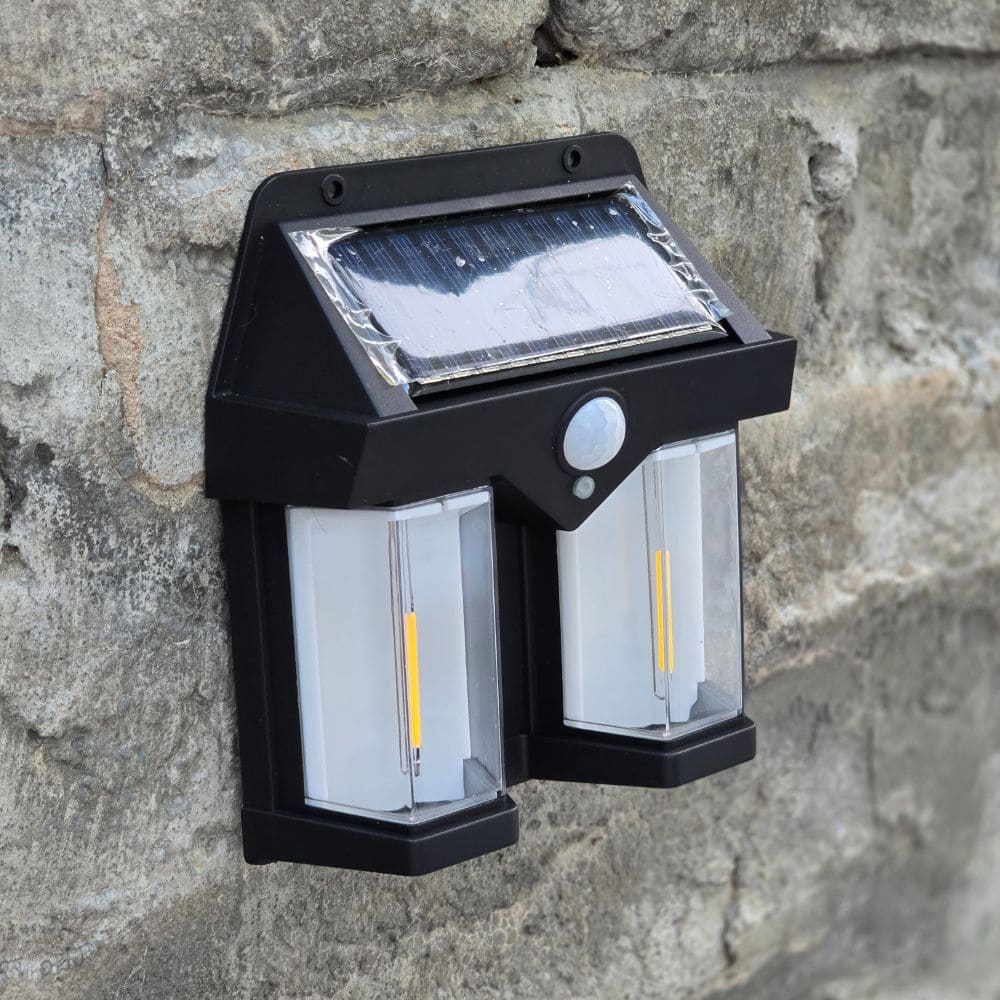
The Solar CL 228 wall light has a double-head tungsten filament lamp that can generate 1200LM brightness for your lawn or garage.
It’s powered by high-quality solar panels that generate a fantastic clean 5.5 voltage under direct sunlight.
This solar light comes with two filaments, so a better and bigger battery is provided. & when fully charged, the battery can last 6 to 12 hours, giving your outdoor space a glow from dusk to dawn!
It also comes with three modes you can change to your preference. For example, you can turn to mode 1 when you want to reserve battery and turn on automatic human motion, or you can turn on mode 3 when you want continuous light and ambiance. You will be satisfied with the feature whichever option you choose, as changing mode is as easy as just clicking on the central button. (Each click changes the mode.)
Additionally, you don’t need to worry about rain affecting this solar light because it is protected by IP65 protection, which means it can withstand harsh climates easily.
This solar light will be a unique and elegant addition to your outdoor space, so before it runs out of stock, buy now!
Package includes:
- 1 x CL-228 Wall Light
- 1 x installation accessories
- 1 x Instruction manual
How to Install This Solar Light?
Installing this solar sensor light is a straightforward process. Here are the steps you can follow:
- Choose the Location:
Select a spot that receives direct sunlight for most of the day. This ensures the solar panel can charge efficiently. - Turn On the Lamp:
Make sure to turn it on before installation. To check if it will suit the location. - Mark the Mounting Spot:
Hold the lamp against the wall where you want to install it, and mark the spots for the screws. - Drill Holes:
Use a drill to make holes at the marked spots. - Insert Anchors:
Anchors are provided with the solar lamp and inserted into the drilled holes. This helps secure the screws. - Attach the Lamp:
Align the lamp with the drilled holes and use screws to fix it in place. - Test the Lamp:
Once installed, check if the lamp is working properly. It may take a day to charge fully.
Note:
- Please fully charge the lamp at least a day before using it to ensure a better battery lifetime.
- If the solar panel is exposed to sunlight or other light, the indicator light will not be ON even if the ON/OFF switch is turned on.
- For specifications, please click on the “Additional Information” tab above.
Reviews
There are no reviews yet.